1 Year Warranty
Description
Overview
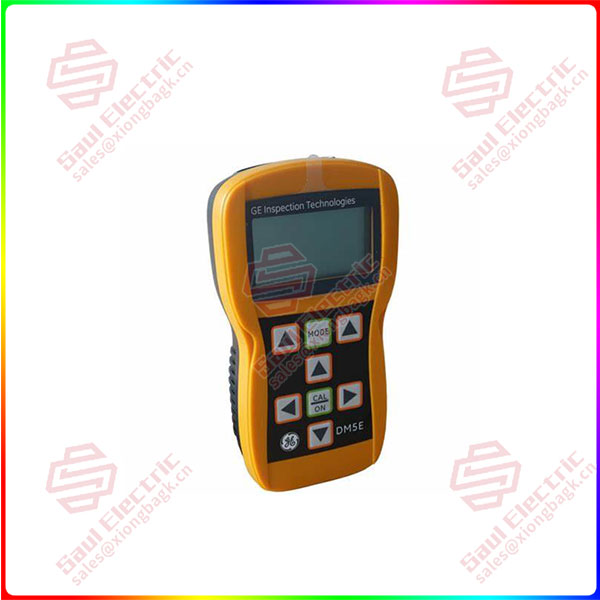
Essential details:DM5E Basic DM5E Operating Manual
Chapter 1. General Information
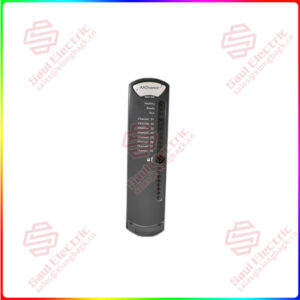
The DM5E is an ultrasonic corrosion thickness measurement device. The instrument is available in three versions:
• DM5E Basic
• DM5E with Dual Multi functionality
• DM5E DL with Dual Multi and Data Recorder
This chapter introduces the key features of the DM5E, and the next chapter explains the keypad functions and display-menu contents. Closely reviewing the material in these two chapters will help you make better use of the more detailed information found in subsequent chapters of this manual.
1.1 Supplying Power to the DM5E
The instrument is powered by two “AA” size batteries, providing up to approximately 100 hours of service life. To install the batteries, remove the battery-compartment cover as shown in Figure 1 on page 2. IMPORTANT: You cannot charge or power the DM5E through its USB port.
When the battery indicator is in the last quarter, as indicated by the display-screen symbol , replace the batteries as soon as possible. The DM5E automatically shuts OFF when the batteries are too weak for reliable operation. However, your settings are saved and restored when the instrument is turned ON again. When testing in remote locations, always carry spare batteries.
1.2 Powering the Instrument ON and OFF Power the instrument ON by pressing and holding until the instrument display activates. Press and hold while the instrument is ON to turn it OFF.
1.3 Key Features of the DM5E
• Large hollow/filled thickness digits
• Alarm bar graph
• Standard and custom parameter setups
• Supports new set of DA5xx probes
• Alphanumeric naming of data files (DM5E DL)
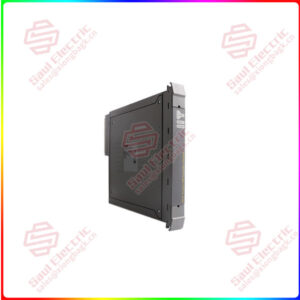
DM5E Basic
lf you need to inquire or purchase ,please send the product models to my email or call medirectly .
sunny He
[Email] sales@xiongbagk.cn
[Mobile] 86-18059884797
[WhatsApp] 86-18059884797
[Skype] sales@saulcontrol.com
DM5E Basic DM5E Operating Manual