Sale!

DS200SIOCG1A GE VME Stand I/O Board

DS200SIOCG1A GE VME Stand I/O Board

Manufacturers :GE
Model(s)  :DS200SIOCG1A
Additional Information :VME Stand I/O Board
Estimated Shipping Size
Dimensions: 263 × 58 × 28mm
Weight:.4.3 kg
Country of Origin: United States of America


Categories: , SKU: DS200SIOCG1A

Description

Overview


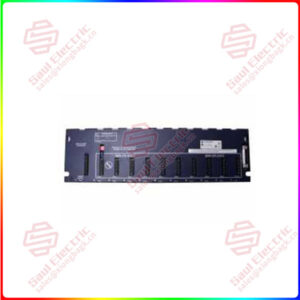
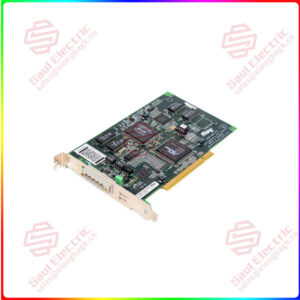
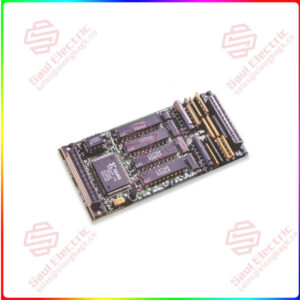
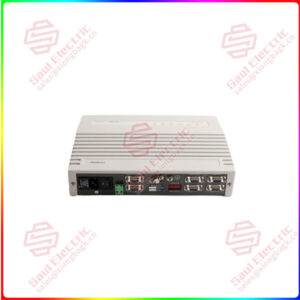
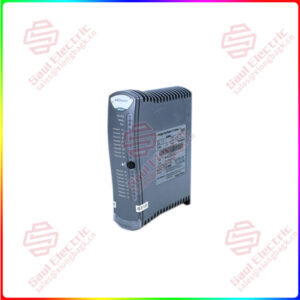
Essential details:DS200SIOCG1A GE VME Stand I/O Board
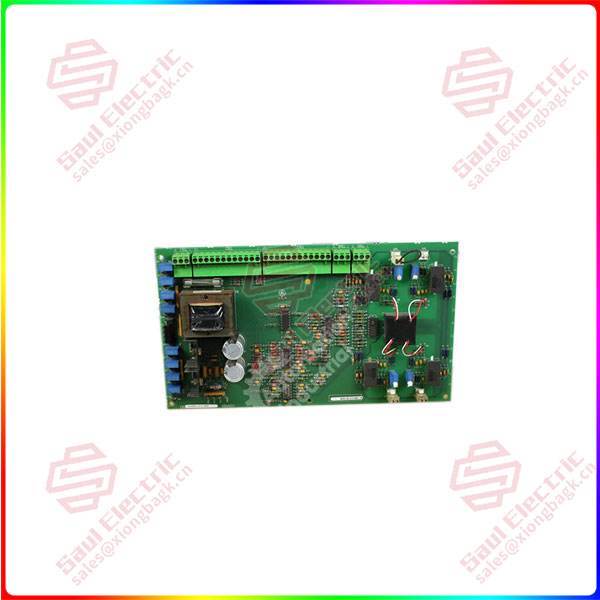
DS200SIOCG1A Technical Specifications

Manufacturer GE General Electric
Series Mark V
Part Number DS200SIOCG1A
Product Type Instantaneous Overcurrent Board

Product Description

The GE VersaModular Eurocard (VME) Stand I/O Board DS200SIOCG1A features five wire terminals that can connect to a maximum of 33 signal wires. It is also populated with one fuse and four 2-pin connectors. The wire terminal blocks on the GE VME Stand I/O Board DS200SIOCG1A are labeled TB-1, TB-2, TB-3, TB-4, and TB-5 on the board. The wires carry signals that are transmitted by the board or are received by the board during processing. The wires are held in place with screws that secure the wires in the terminals. Each terminal also has an identifier printed on the board.

DS200SIOCG1A

lf you need to inquire or purchase ,please send the product models to my email or call medirectly .

sunny  He

[Email] sales@xiongbagk.cn

[Mobile] 86-18059884797

[WhatsApp] 86-18059884797

[Skype] sales@saulcontrol.com

DS200SIOCG1A GE VME Stand I/O Board

When you replace the board you must first tag each wire connected to a terminal with the ID assigned to the terminal to which it is attached. Then, when all power is removed from the board, you can loosen the screws that secure the wire in the terminal. Check to make sure the tag is attached to the wire and that is has the right terminal ID written on it. Bend the signal wires out of the way so you can remove the old board and install the replacement board.

When you are ready to reattach the signal wires, insert the bare portion of the wire into the terminal and hold it in place with one hand. Use the other hand to tighten the screw with a screwdriver. Pull on the wire to check if it is secure and will not come out on its own at all.