1 Year Warranty
Description
Overview
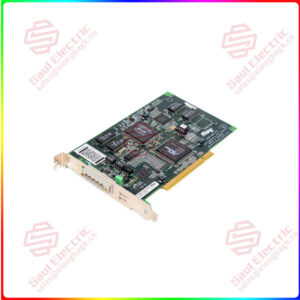
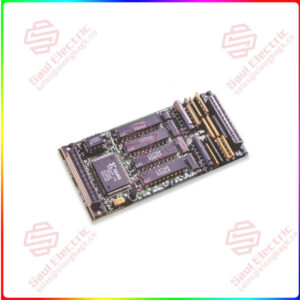
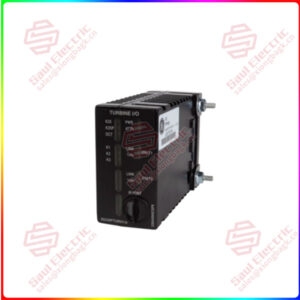
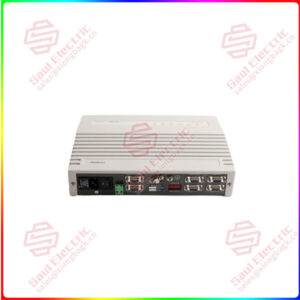
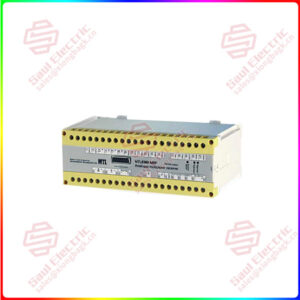
Essential details:1732E-OB16M12DR Allen Bradley ArmorBlock and ArmorBlock Guard I/O Modules
The I/O block ships with the rotary switches set to 999 and DHCP enabled.
To change the network address, you can do one of the following:
• Adjust the switch on the front of the module.
• Use a Dynamic Host Configuration Protocol (DHCP) server, such as Rockwell Automation® BootP/DHCP.
• Retrieve the IP address from nonvolatile memory.
The I/O block reads the switches first to determine if the switches are set to a valid number. To set the network address:
1. Rotate the three switches on the front of the module using a small blade screwdriver.
2. Line up the small notch on the switch with the number setting you wish to use.
3. Valid settings range from 001…254.
4. Cycle power.
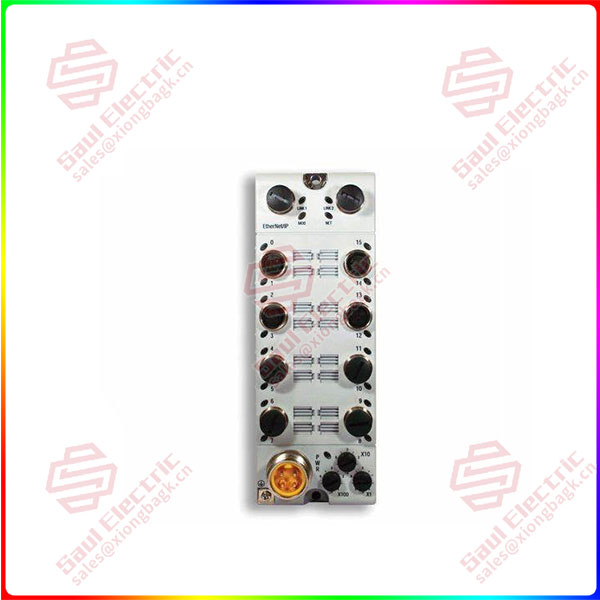
1732E-OB16M12DR
lf you need to inquire or purchase ,please send the product models to my email or call medirectly .
sunny He
[Email] sales@xiongbagk.cn
[Mobile] 86-18059884797
[WhatsApp] 86-18059884797
[Skype] sales@saulcontrol.com
1732E-OB16M12DR Allen Bradley ArmorBlock and ArmorBlock Guard I/O Modules