1 Year Warranty
Description
Overview
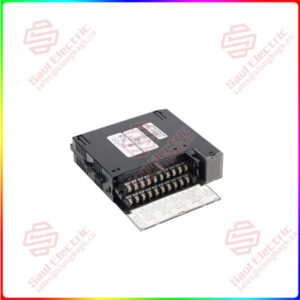
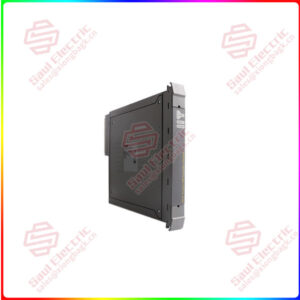
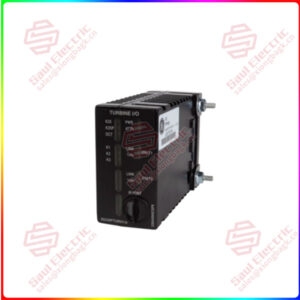
Essential details:1732D-8CFGM8 DeviceNet 1732D ArmorBlock™ I/O
The DeviceNet 1732D ArmorBlock™ I/O family consists of stand-alone 24V dc I/O modules that communicate via the DeviceNet network. The sealed IP67 housing of these modules requires no enclosure (Note that environmental requirements other than IP67 may require an additional appropriate enclosure.) I/O connectors are sealed M8 (pico) or M12 (micro) styles while the network and auxiliary power connectors are sealed M12 style.
To install the module:
• Set the node address
• Mount the module
• Connect the cord sets
• Attach the network cables
• Communicate with the module
Set the Node Address Valid node addresses are 00 through 63.
Set the node address using either the rotary switches, RSNetWorx for DeviceNet, DeviceNetManager, or another software configuration tool. Setting the switches at any number from 64 to 99 lets the software have address control.
Each module is shipped set for node address 63. Remove the caps on the front of the module to access the switches. The two switches are:
• X10 (most significant digit) – left side of module
• X1 (least significant digit) – right side of module
To reset the node address, use a small blade screwdriver to rotate the switches. Line up the small black dot on the switch with the number setting you wish to use and then cycle power
The rotary switches are read periodically. If the switches have been changed since the last time they were read and they no longer match the on line address, a minor fault will occur, which is indicated by a flashing red MOD LED. Settings between 64 and 99 cause the module to use the last valid node address stored internally. Example: The last setting internally was 40. If a change is made to 68, and then you power up, the address will default to 40.
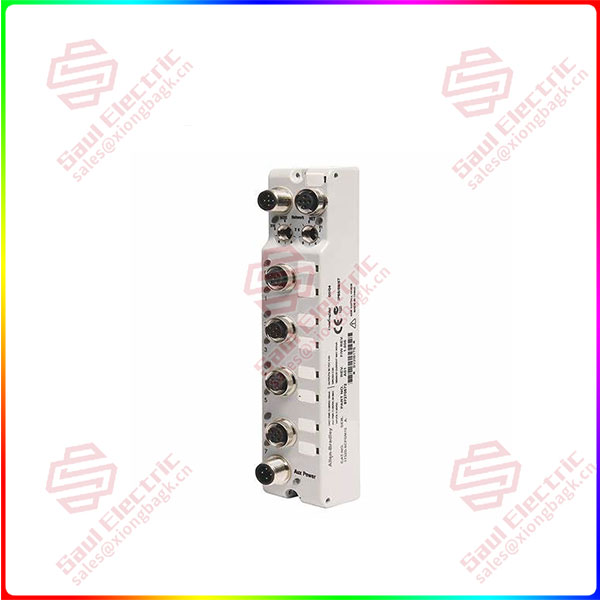
1732D-8CFGM8
lf you need to inquire or purchase ,please send the product models to my email or call medirectly .
sunny He
[Email] sales@xiongbagk.cn
[Mobile] 86-18059884797
[WhatsApp] 86-18059884797
[Skype] sales@saulcontrol.com
1732D-8CFGM8 DeviceNet 1732D ArmorBlock™ I/O
The module is equipped with AutoBaud detect. AutoBaud lets the module read the settings already in use on your DeviceNet network and automatically adjusts to follow those settings.
Each module has two sets of mounting holes that are used to mount the module directly to a panel or machine. The module can be front or side mounted. Mounting holes accommodate #6 (M3) pan head screws. The torque specification is 6 in-lbs.
If you will mount the module in an area that is subject to shock or vibration, we recommend that you use a flat and lock washer to mount the module. Mount the flat and lock washer as shown in the following illustration. Torque the mounting screws to 6 in-lbs.
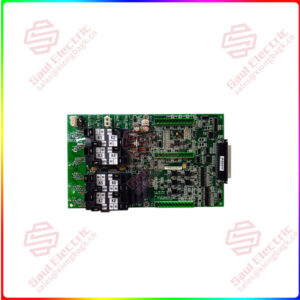
The ArmorBlock family offers 5-pin micro-style PCB mounting connectors or 3-pin pico-style PCB mounting connectors.
We provide caps to cover the unused connectors on your module. Connect the quick-disconnect cord sets you selected for your module to the appropriate ports.